International Standard Compliance
ANSI Z535 Safety Standards
Designed following recognized safety color and formatting principles for hazard communication.
OSHA Guidelines
Supports workplace safety requirements for underground utility marking.
ISO Safety Practices
Aligned with general industrial signage visibility and durability standards.
ASTM Material Compliance
Reflective and aluminum variants meet durability and performance benchmarks.
Construction & Materials
UV-Resistant Vinyl Layer
Flexible base material suitable for flat and curved surfaces with outdoor durability.
Engineering Grade Reflective Film
Improves night-time visibility and hazard awareness in low light conditions.
Rust-Free Aluminum Base
Provides rigid, long-lasting performance for permanent installations.
Weatherproof Ink System
Industrial UV inks prevent fading and maintain clarity over time.
Protective Lamination (Optional)
Adds extra resistance against abrasion, chemicals, and vandalism.
Selection Steps For Customised Safety Sign
Step 1: Background & Header Selection
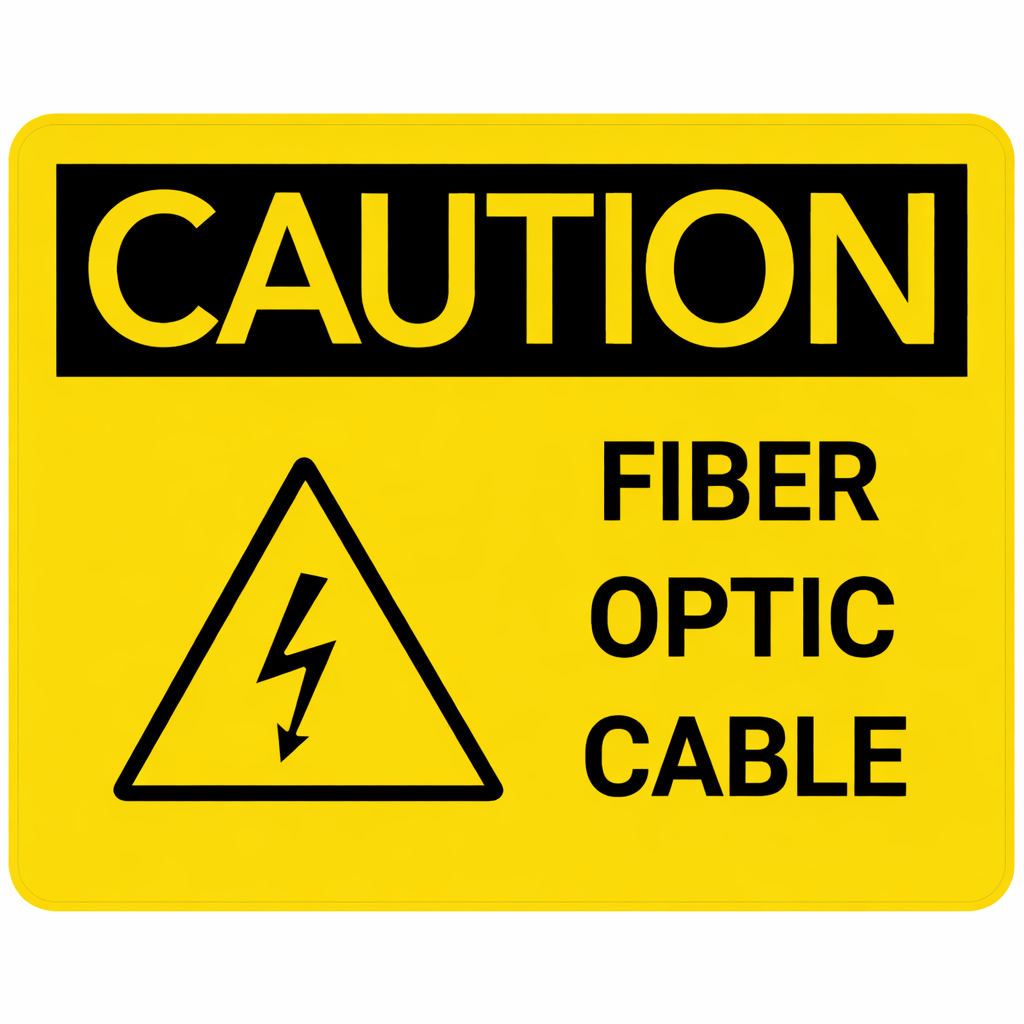
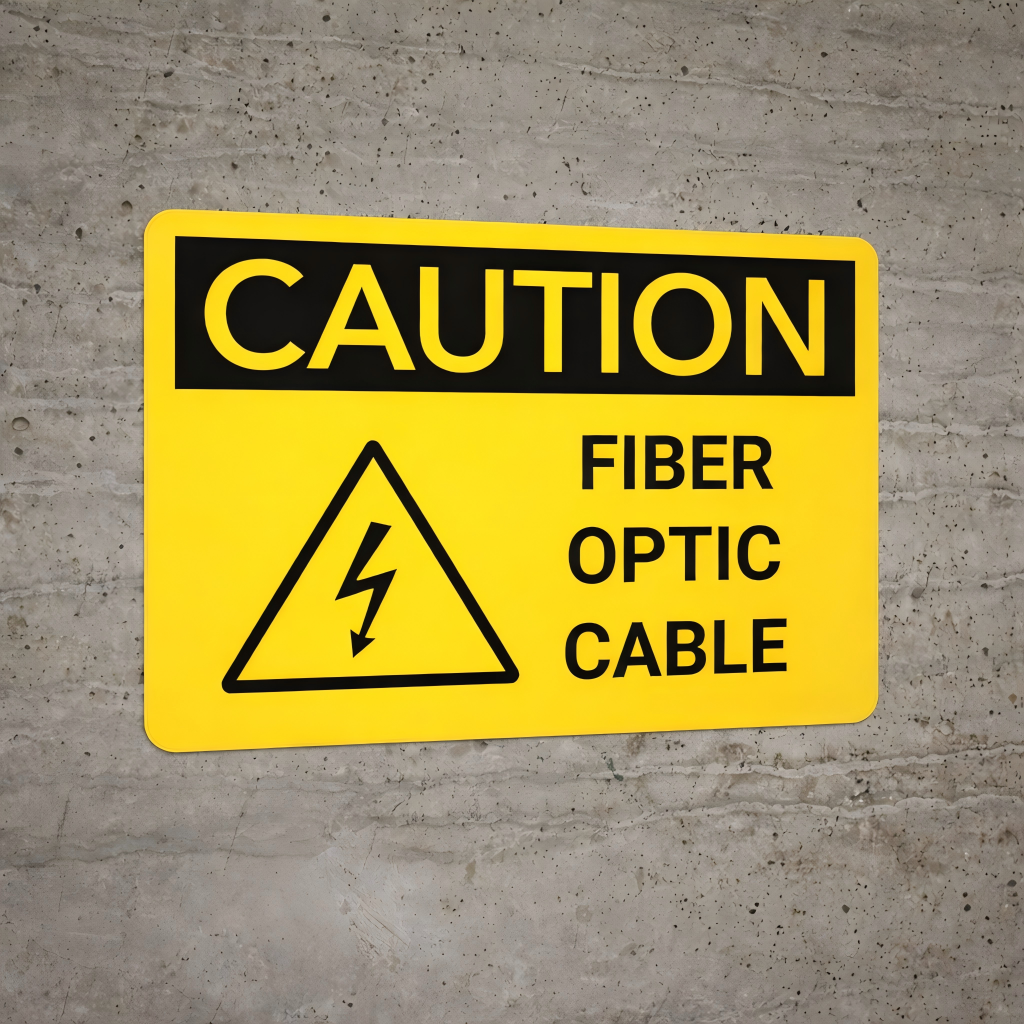
Choose the standard safety header (ANSI/OSHA) or blank header depending on the required format.
Step 2: Image Layout Selection
Select layout type: text only or text with 1–4 images (symbols, logos, or custom graphics).
Step 3: Text Customization
Enter primary warning text (e.g., “BURIED FIBER OPTIC CABLE”) and secondary instructions, including company name and emergency number.
Step 4: Size Selection
Choose sign size based on installation area visibility (small labels to large outdoor boards).
Step 5: Material Selection
Select material type such as vinyl, reflective, aluminum, or plastic based on durability and environment.
Step 6: Mounting & Options
Choose mounting method (adhesive, holes, straps) and any extra options like reflective coating or lamination.
Step 7: Final Review & Order
Review all selections for text accuracy, layout, and material before confirming the order.
Installation Steps
Step 1: Site Selection
Choose the exact location above or near the buried fiber route where visibility is highest.
Step 2: Surface Cleaning
Clean the mounting surface thoroughly to remove dust, oil, mud, or loose particles.
Step 3: Position Marking
Mark the exact alignment point to ensure the sign is installed straight and clearly visible.
Step 4: Fixing the Sign
Secure the sign using screws, poles, adhesive backing, or mounting straps, depending on surface type.
Step 5: Tightening & Stability Check
Ensure all fasteners are properly tightened, and the sign is firmly fixed without movement.
Step 6: Visibility Verification
Confirm the sign is clearly readable from a safe distance and not blocked by any obstruction.
Step 7: Final Inspection
Check overall installation quality, alignment, and durability before completing the site work.